Create a project
- Sign in to Lazybird Studio.
- From the Projects screen, click Create.
- Add or paste your script into the editor.
- Keep related lines in separate script blocks when you want different voices, pacing, or pronunciation rules for each line.
Lazybird generates audio block by block. This makes it easier to regenerate one line without touching the rest of the project.
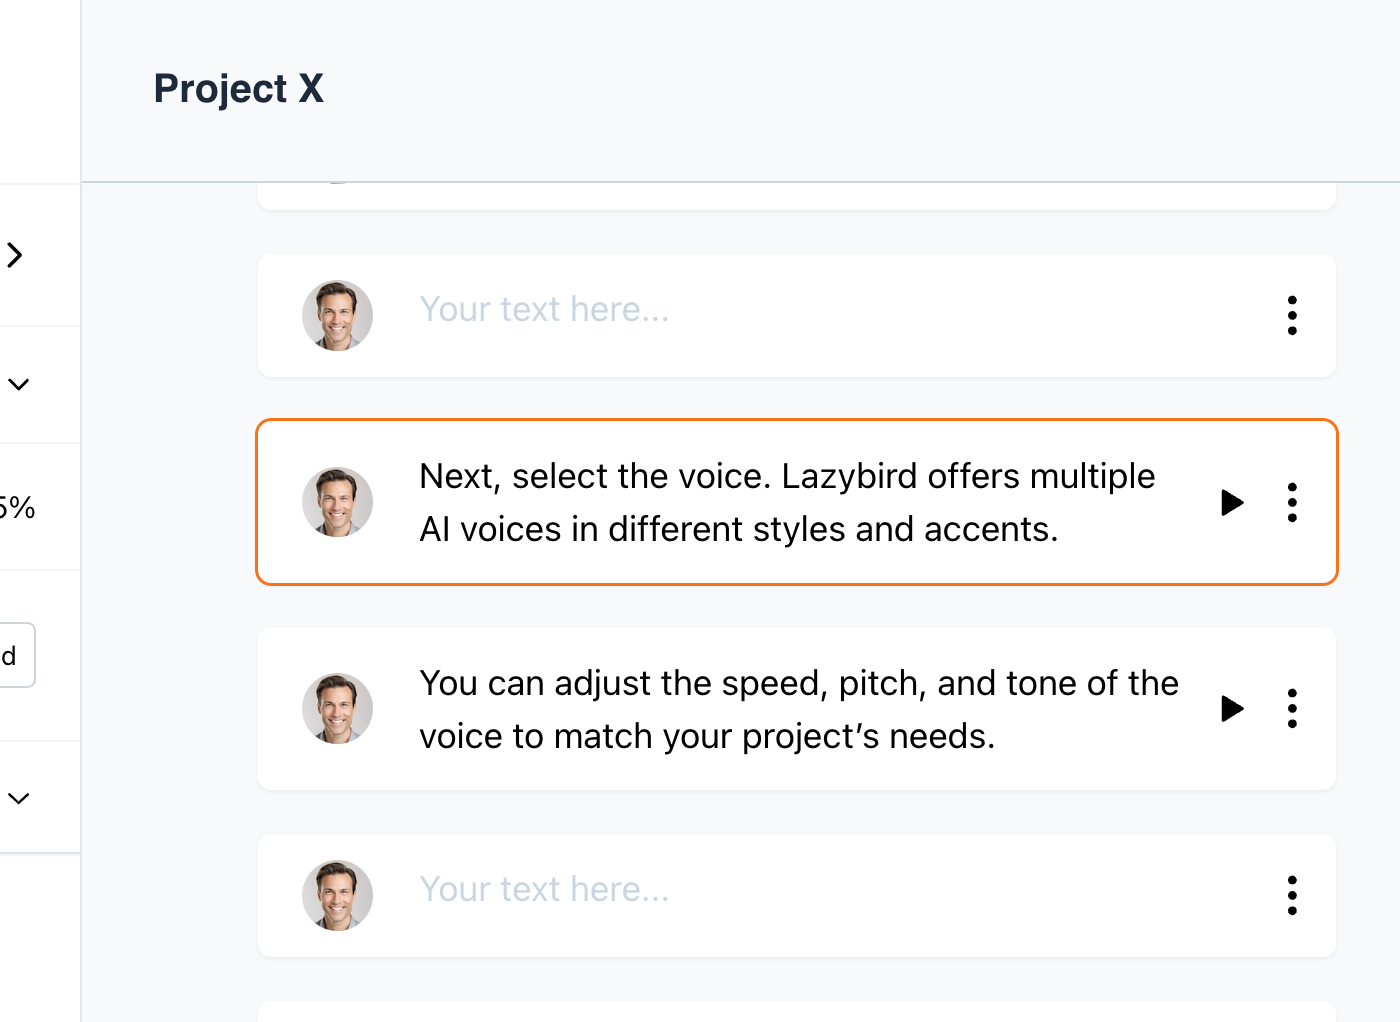
Choose a voice
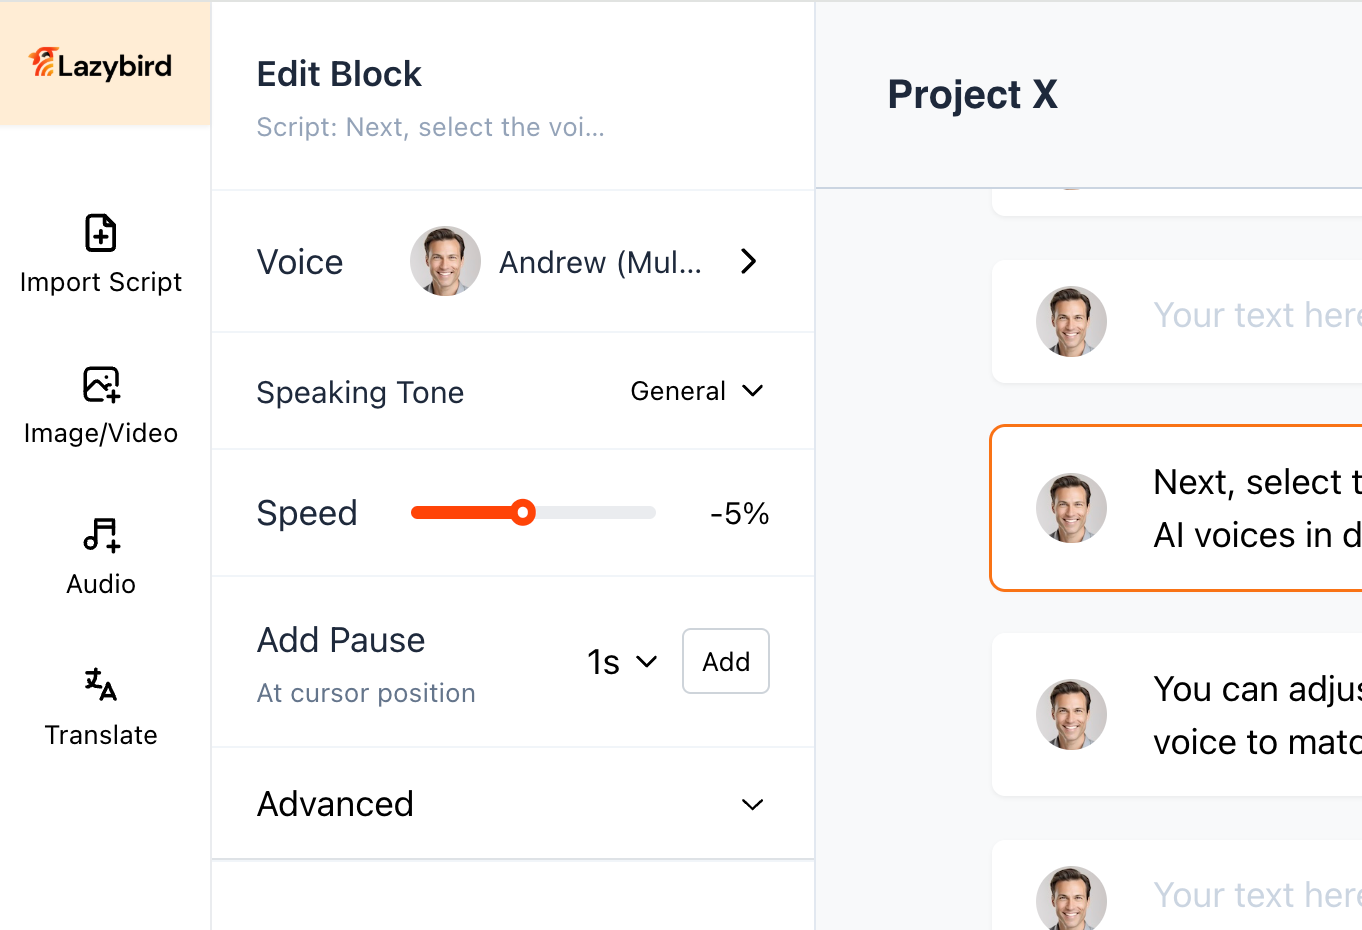
- Click the script block you want to edit.
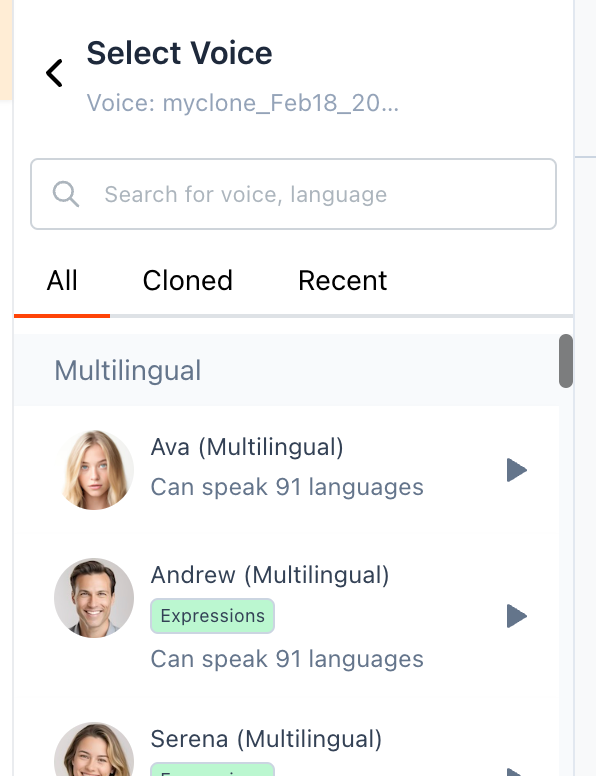
- Open the Voice panel on the left.
- Search by voice name, language, accent, or locale.
- Click a voice to apply it to the selected block.

After you select a block, the left panel shows controls for that block.

Open the Voice section to see the voice selector.
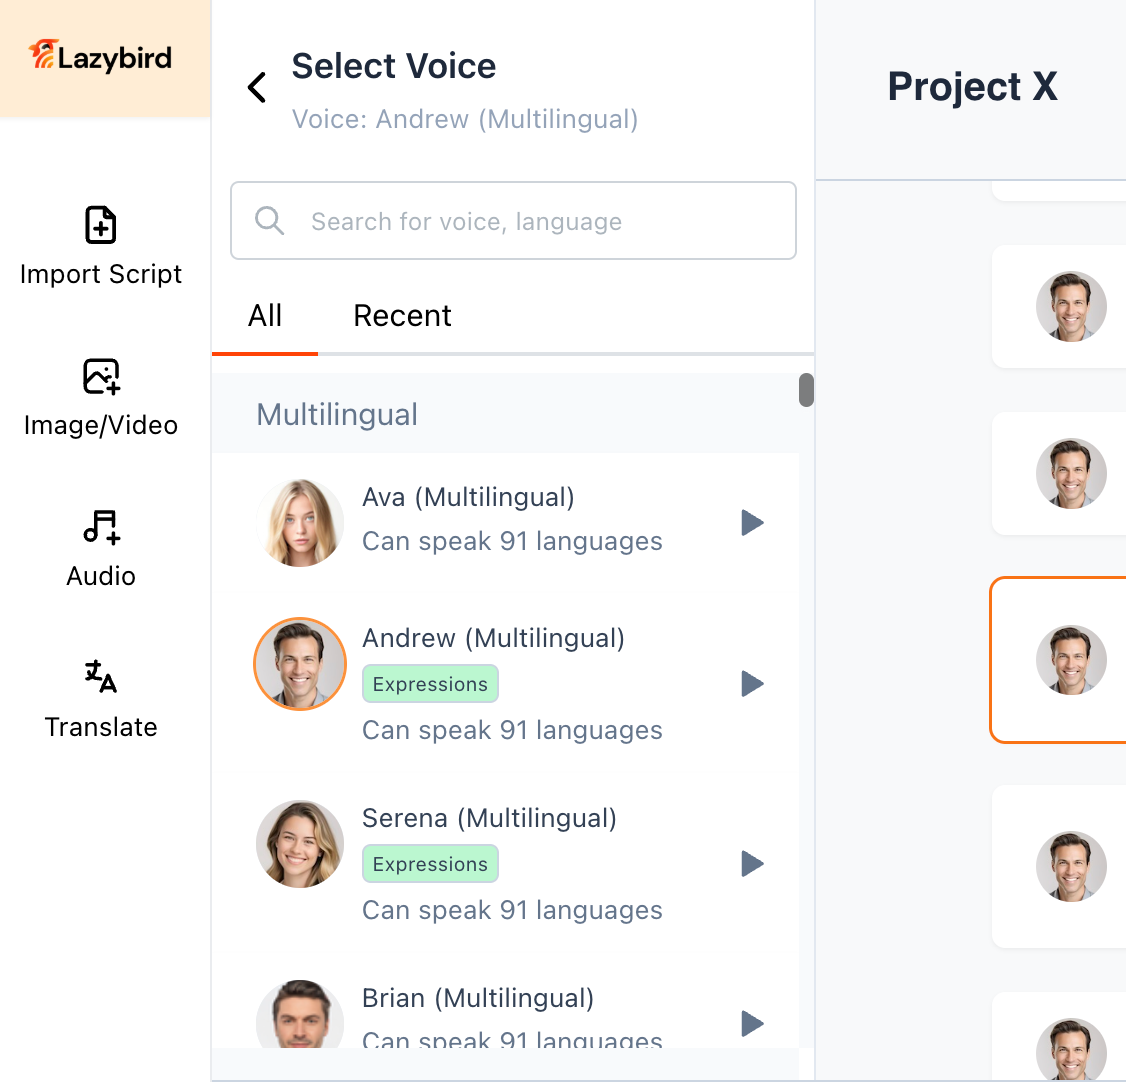
Use search when you already know the language or accent you need. For example, searching for a language name narrows the list to voices that support that language.
Generate and preview audio
- Select the script block you want to generate.
- Check the selected voice and voice settings.
- Generate the block audio.
- Use the player controls to preview the result.
If one block sounds wrong, regenerate that block instead of rebuilding the whole project.
Regenerate a bad output
Voice generation can vary slightly from one attempt to another. If a line has an awkward pause, emphasis, or pronunciation:
- Open the block controls.
- Choose Regenerate.
- Preview the new result.
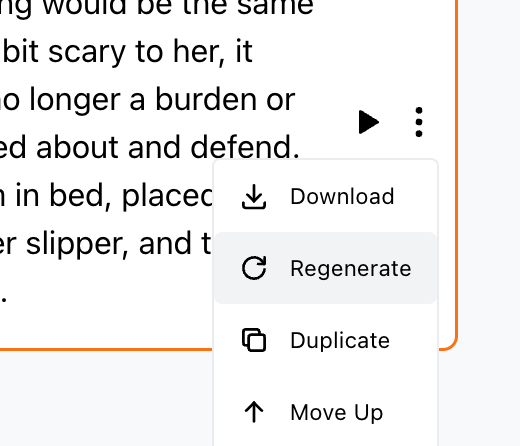
Regeneration is usually the fastest fix for a one-off delivery issue.
Adjust voice settings
Each script block can have its own voice settings.
Common settings include:
- Speaking tone or style
- Pitch
- Speed
- Volume
Use smaller adjustments first. Large pitch or speed changes can make a voice sound less natural.
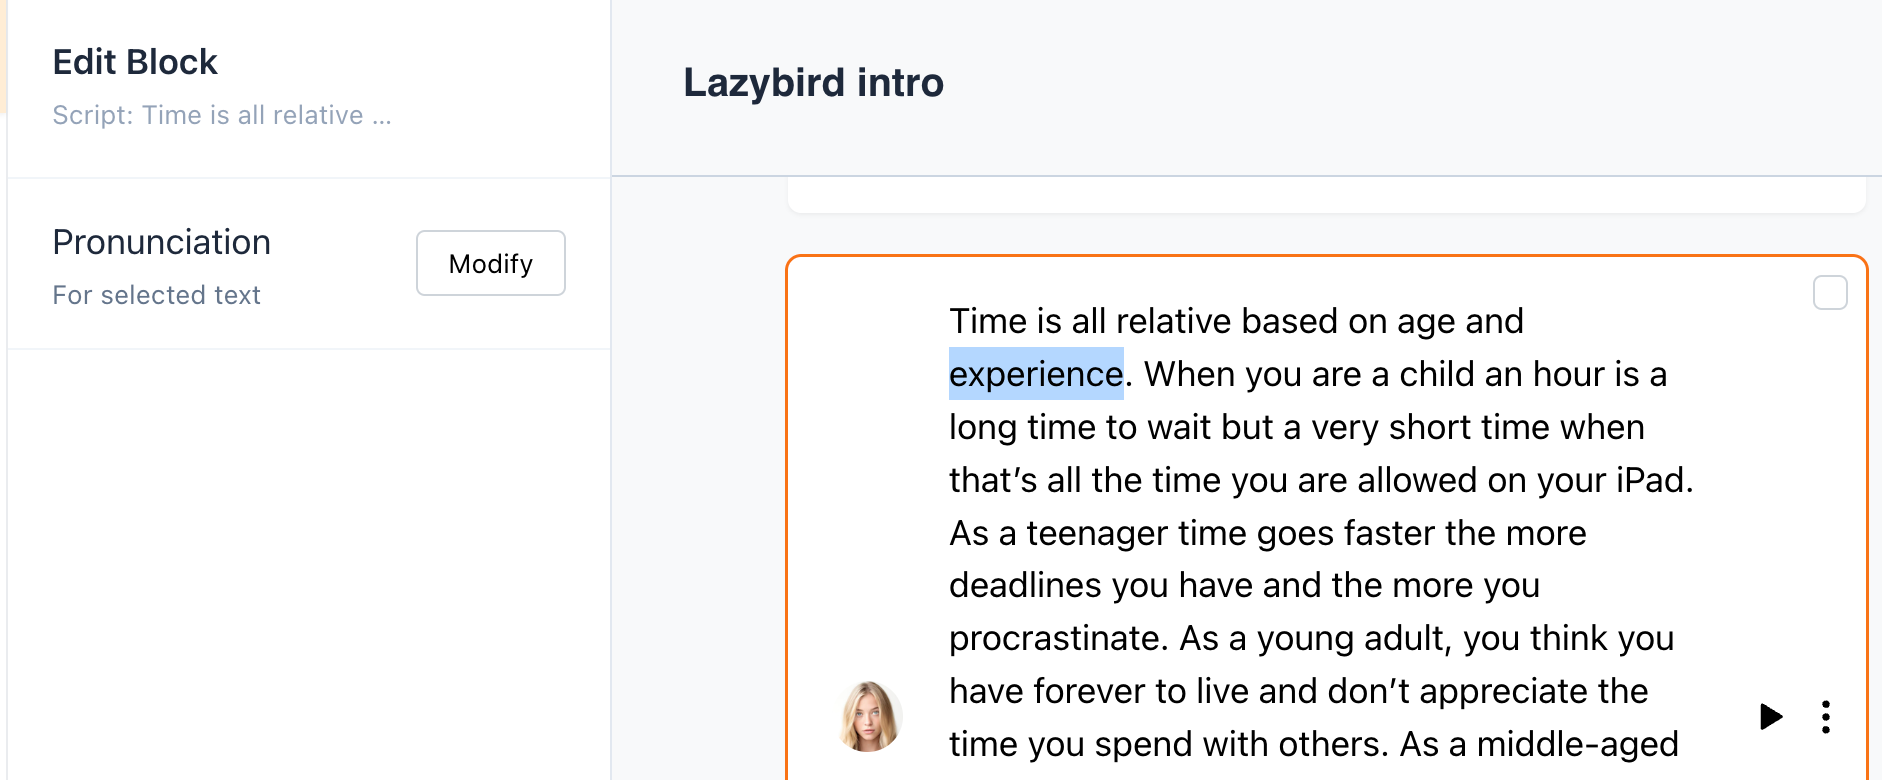
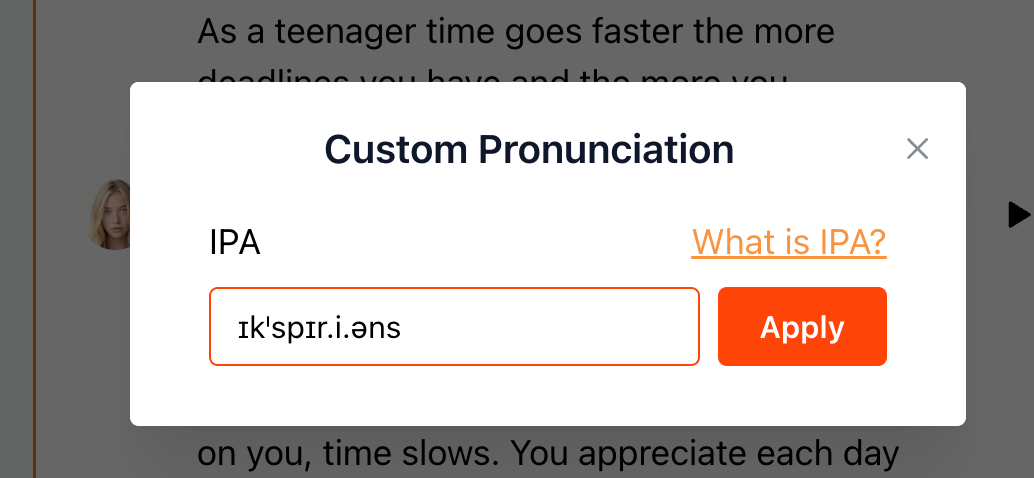
Customize pronunciation
Use custom pronunciation when Lazybird reads a word, brand name, acronym, or name incorrectly.
- Select the script block.
- Highlight the word or phrase you want to adjust.
- In the left panel, find Pronunciation and click Modify.
- Enter the IPA pronunciation without wrapping slashes.
- Click Apply.
- Regenerate the block and preview it.
Click Modify to open the custom pronunciation dialog.
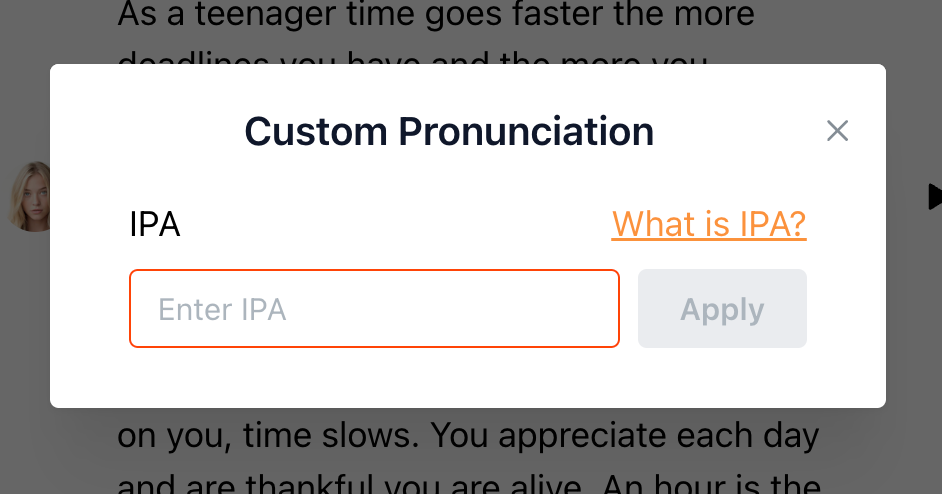
Example: if a dictionary shows /ɪkˈspɪəriəns/, enter ɪkˈspɪəriəns.
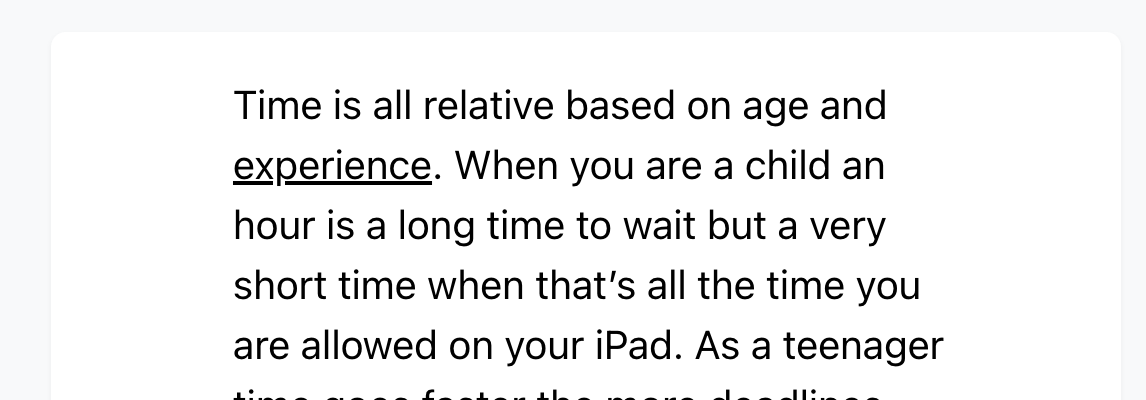
After applying the pronunciation rule, the edited word is highlighted in the editor.
If you are not sure which IPA spelling to use, generate a few options externally and test the one that sounds best in the voice you selected.
Add pauses
Use pauses when you need more deliberate timing than punctuation gives you.
- Select a script block.
- Highlight the place where the pause should be applied.
- Use the pause controls in the edit panel.
- Regenerate and preview the block.
Pauses are useful for intros, list items, dramatic emphasis, and narration that needs room between phrases.
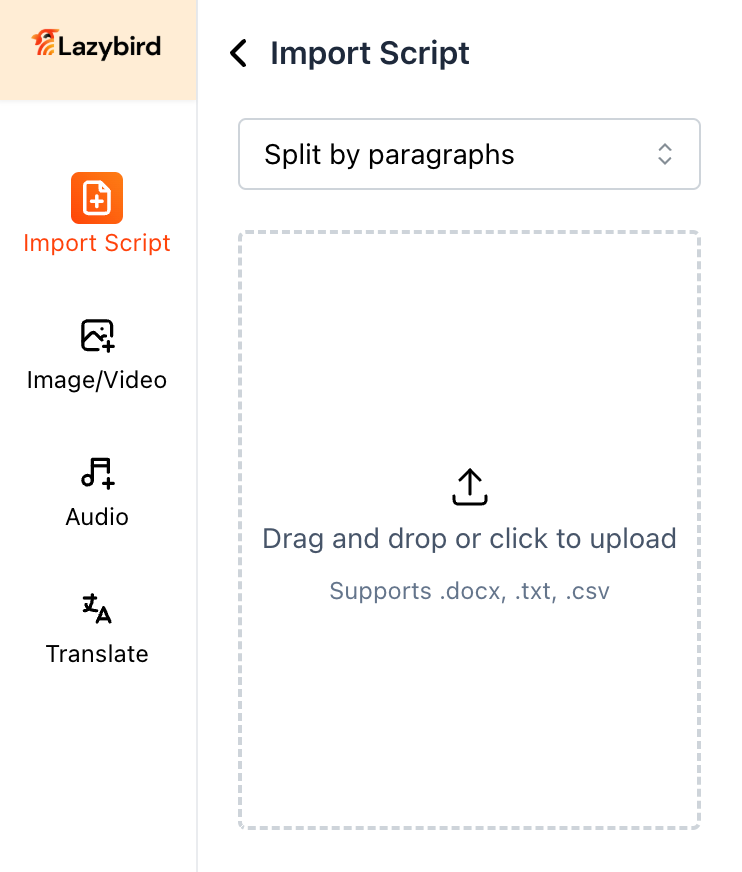
Import a script file
Use the Import panel when your script already exists in a document or structured file.
Supported imports include:
- DOCX
- TXT
- CSV
- Subtitle files
- Kindle files
Open the Import panel, upload the file, and review the imported blocks before generating audio.
Import a CSV
CSV import is useful when you want to create many script blocks at once or assign settings in bulk.
Open the Import panel on the left and upload the CSV file.
Example CSV: import_sample.csv
Supported CSV columns:
| Column | Purpose |
|---|---|
text |
Text to add as a script block |
voice |
Voice display name or voice ID |
settings_style |
Speaking tone/style. Leave empty to use the default. |
settings_pitch |
Pitch value from 0 to 2. Default is 1. |
settings_speed |
Speed value from 0 to 2. Default is 1. |
settings_volume |
Volume value from 0 to 2. Default is 1. |
Keep the text column filled for every row. Leave optional setting columns empty when you want Lazybird to use the project defaults.
Clone a voice
Voice cloning lets you add a personal voice to the voice selector.
- Select a script block.
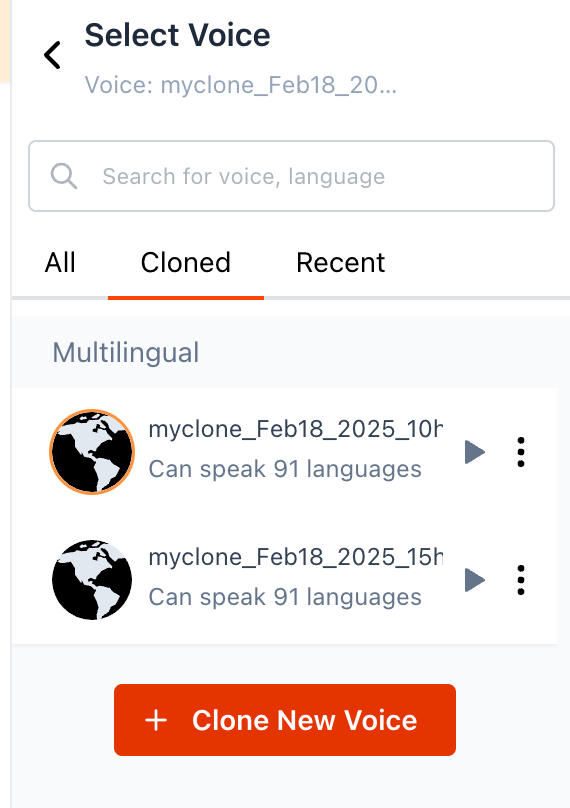
- Open the Voice panel.
- Switch to the Cloned tab.
- Click Clone New Voice.
- Follow the upload or recording instructions in the dialog.
- After the voice is ready, select it from the Cloned tab.
Select a block first, then open the voice selector.
Switch to the Cloned tab.
Click Clone New Voice to add a new cloned voice, or choose an existing cloned voice from the list.
Follow the instructions in the clone dialog.

After the cloned voice is ready, it appears in the Cloned tab.

For better cloning results:
- Record in a quiet room.
- Avoid background noise, music, echo, and heavy processing.
- Use a clear microphone.
- Prepare the sample before uploading.
- Aim for at least 30-60 seconds of clean speech.
If cloned-voice output sounds wrong, try regenerating first. If the issue repeats, create a cleaner voice sample and clone again.
Supported languages
Lazybird supports many languages and locales. To find a voice for a specific language, search for the language or locale in the voice selector.
For example, searching for Greek narrows the list to Greek voices.

Add media
Lazybird projects can include more than narration. Use the side panels to add or manage:
- Uploaded audio
- Stock music
- Uploaded images or video
- Stock images or video
Use media blocks when you are creating a video, presentation, or social clip rather than a plain audio narration.
Translate a project
Use the Translate panel when you need a version of the same project in another language.
- Open the Translate panel.
- Choose the target language.
- Start translation.
- Review the translated script before exporting.
Always review translated scripts before generating final audio, especially for names, technical terms, product copy, and legal or medical content.
Export your project
When the project is ready:
- Open the Export panel.
- Choose the export type and format.
- Start the export.
- Download the finished file when processing completes.
Export options depend on the project content. Audio-focused projects can be exported as audio, while video projects expose video-oriented options.
Manage account and API keys
Open account settings to manage subscription details and API access.
For API use, generate an API key from the settings screen and follow the API documentation linked there.
Do not share API keys publicly or place them in client-side code.