How to Record a PowerPoint Presentation with Audio in 3 Easy Steps

You can kick off an audio recording in PowerPoint right from the Record tab. Just choose 'From Beginning' or 'From Current Slide,' and then use the simple on-screen controls to start talking. The best part? Your voice gets embedded directly into the slides, creating a neat, self-contained presentation that’s ready to share.
Why Narrated Presentations Are So Effective
Before we get into the nitty-gritty of how to do it, let's talk about why this is such a game-changer. A silent slide deck is just a bunch of text and images. It's flat. Your audience is left to guess the emphasis, the tone, and the key takeaways.
But when you add your voice? It completely transforms the experience. Suddenly, that static deck becomes a dynamic, guided tour.
This isn't just a neat trick; it's incredibly practical. Imagine sending a sales pitch to a potential client. Instead of them just scanning data points, they get to hear your excitement and confidence as you walk them through the numbers. Or think about creating an onboarding module for new hires. They can learn at their own pace, with your voice providing clear, friendly guidance every step of the way. It’s the next best thing to being in the room with them.
Boosting Engagement and Retention
Let’s be honest, text-heavy slides can be a real snooze-fest. A narrated presentation, on the other hand, grabs and holds attention. Your voice adds that crucial human element—it conveys personality and builds a genuine connection with your audience, keeping them tuned in from the first slide to the last.
The numbers back this up, too. Studies have shown that when presenters add narration, viewer retention rates can jump by as much as 35% compared to a silent presentation. That's a huge difference and really highlights how a little bit of audio can make your message stick.
A narrated presentation is essentially your perfect delivery, every single time. It guarantees that every person who watches gets the same high-quality, detailed explanation, no matter when or where they press play.
To give you a clearer picture, here's a quick rundown of the main advantages.
Benefits of Narrated Presentations at a Glance
| Benefit | Impact on Audience | Best Use Case |
|---|---|---|
| Increased Engagement | Keeps viewers focused by adding a personal, human touch. | Complex sales pitches or detailed product demos. |
| Enhanced Clarity | Prevents misinterpretation of data or key messages. | Technical explanations or data-heavy reports. |
| Improved Retention | Audio cues and vocal emphasis help viewers remember information. | Employee training and educational course materials. |
| Greater Accessibility | Supports different learning styles and helps visually impaired viewers. | Public-facing content and internal communications. |
| On-Demand Availability | Delivers a consistent message anytime, anywhere. | Asynchronous learning and global team updates. |
As you can see, the benefits extend across many different scenarios, making it a truly versatile skill to have in your toolbox.
Creating Versatile On-Demand Content
Once you've recorded audio over your PowerPoint, you've created a powerful, reusable asset. This single recording can serve multiple purposes:
- Asynchronous Learning: It’s a lifesaver for online courses or lectures. Students can review the material on their own schedule, pausing and replaying as needed.
- Corporate Training: Need to train the whole company on a new policy or software? A narrated presentation is an incredibly scalable way to do it.
- Marketing and Sales: You can easily export your presentation as a video for product walkthroughs, webinars, or content to post on YouTube and LinkedIn.
If you’re really looking to create top-notch instructional content, learning how to make effective tutorial videos is a great next step. Mastering this can turn a simple slide deck into a communication powerhouse that works for you around the clock.
Setting Up for a Flawless Audio Recording
A professional-sounding presentation begins long before you hit the record button. Think of this as your pre-flight checklist for getting that crisp, clear audio that keeps your audience engaged, not distracted.
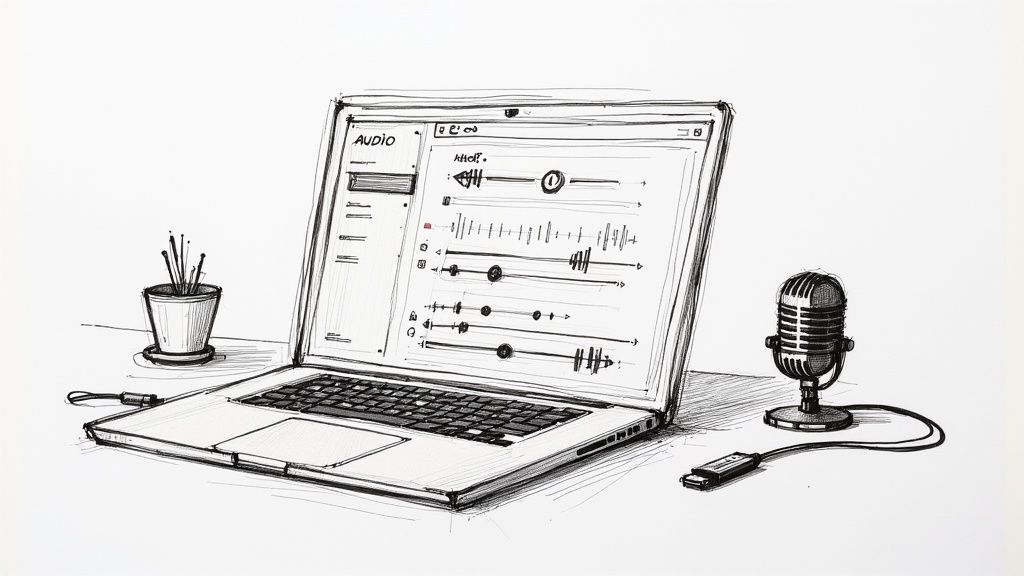
The quality of your audio is totally non-negotiable. Poor sound can make even the most brilliant content feel amateurish. While the built-in microphone on your laptop gets the job done in a pinch, it’s notorious for picking up every keyboard tap, fan whir, and echo in the room.

Honestly, investing in a simple external USB microphone is one of the easiest ways to dramatically improve your sound. You don’t need a fancy studio-grade setup; many affordable options out there provide excellent quality for recording a PowerPoint.
Your Pre-Recording Checklist
Before you start, just run through these essential steps. A few minutes of prep can save you hours of re-recording later. Trust me on this one.
- Find a Quiet Space: This seems obvious, but it’s huge. Close doors and windows to cut down on background noise from traffic, pets, or family. Soft surfaces like carpets, curtains, and even a closet full of clothes can do wonders to reduce echo.
- Prepare a Simple Script: You don't need a word-for-word manuscript, but jotting down key points for each slide keeps you on track. It’s the best way to avoid those awkward pauses and filler words like "um" and "ah."
- Run a Test Recording: Always, always do a test. Record a quick 30-second clip to check your audio levels. Is your voice clear? Is it too loud or too quiet? Now’s the time to adjust your microphone placement or settings.
A common mistake I see is people assuming their first take will be perfect. A quick audio test ensures you catch issues like a muted mic or a distracting background hum before you've recorded the whole thing.
If you're after perfect audio without the hassle of recording it yourself, exploring text-to-speech tools can be a fantastic alternative. Applications like Lazybird allow you to generate clean, consistent narration directly from your script.
Ultimately, a smooth delivery comes from practice. Rehearse your presentation a couple of times to get comfortable with the flow and timing. And if you want to get more mileage out of your work, learning how to record and transcribe your audio content from other platforms is a really valuable skill to have.
Recording Narration Directly in PowerPoint
Now that your gear is sorted, let's jump into the most straightforward way to add audio: using PowerPoint's own built-in tools. You might be surprised to find that PowerPoint has a pretty robust recording studio tucked away inside, letting you create a fully narrated presentation without ever leaving the app.
This approach is perfect for capturing your voice slide-by-slide, which is a massive relief if you're not a fan of doing long, one-take recordings.
Mastering the Recording Interface
Getting started is a breeze. Just head up to the Record tab on the main PowerPoint ribbon. From there, you can choose to record from the very beginning or just start from the slide you’re currently on. This flexibility is a huge time-saver, letting you tackle your narration in smaller, more manageable chunks.
Once you hit "Record," PowerPoint whisks you into a dedicated recording view. It’s a clean interface designed to feel pretty natural. You’ll see your current slide front and center, with simple controls to start, pause, and stop your recording.
But here’s where it gets really useful: the on-screen annotation tools. As you talk, you can grab a laser pointer, highlighter, or pen to draw your audience’s attention to key data points, diagrams, or bits of text on the slide. It’s a great way to add a dynamic, interactive feel that really helps your message land, much like you would in a live presentation.

One of the best things about recording directly in PowerPoint is how forgiving it is. We've all been there—you stumble over a word, or the dog starts barking right at a crucial moment. You don't have to scrap the whole thing and start over.
Just stop the recording, go to the slide with the mistake, and use the "Clear" option. This lets you delete the narration for only that slide, so you can re-record it without messing up the rest of your work.
This slide-by-slide recording approach is a game-changer. It takes all the pressure off trying to deliver a perfect, one-take performance, making the whole process far less stressful and way more efficient.
The whole workflow is designed to keep you focused. Everything you need is right there in the recording studio. When you're done, the recordings are automatically embedded into their respective slides—no separate audio files to manage. For a full walkthrough, you can always check out the details on Microsoft's official support page.
Ditch the Mic: Create Flawless Voice-Overs with AI Narration
What if you could produce a perfect, studio-quality voice-over for your presentation without ever touching a microphone? Recording yourself is a solid option, but let’s be honest—it can be a real headache. AI narration offers a powerful and incredibly efficient alternative, completely removing the stress of performance.
Imagine getting consistent, professional audio every single time. With an AI tool like Lazybird, you can forget about fumbled words, barking dogs in the background, or having to re-record an entire slide because you sneezed. You just finalize your script, and the tech handles the rest. It's a game-changer.
The AI Narration Workflow is Deceptively Simple
The whole process is surprisingly straightforward. You start by pasting your slide-by-slide script directly into Lazybird.
From there, you get to play creative director. Browse through a huge library of professional voices to find the exact tone and style that fits your message. A few clicks later, you've got a clean, crisp MP3 audio file for every single one of your slides.
Once your audio files are ready, you just pop them into your presentation. PowerPoint makes this part easy:
- Jump to the slide you want to add narration to.
- Head over to the Insert tab in the ribbon.
- Click Audio, then choose Audio on My PC.
- Find the MP3 file you just generated for that slide and select it.
That’s it. You get flawless audio without the technical frustrations.
From Manual Recording to AI Efficiency
PowerPoint’s recording tools have come a long way. I remember when the integrated recording feature showed up around 2013—it was a huge step forward for creating video-like presentations. Then, by 2016, Microsoft added camera and inking support, opening the door for much more dynamic and engaging content.
AI narration is simply the next logical step in that evolution. It separates the script from the performance, letting you focus entirely on crafting the perfect message while the AI delivers it flawlessly.
This isn't just about basic text-to-speech, either. You can integrate AI narration with other cool tools like speech-to-text technology to make script creation even faster. This whole workflow ensures your recorded PowerPoint has clean, professional audio with an almost ridiculous lack of effort.
Alright, you've put in the work, recorded your narration, and your presentation sounds perfect. Now, how do you get it in front of your audience? The way you save and share it can make all the difference in their experience.
PowerPoint gives you a couple of solid options here. Your choice really boils down to how you want people to engage with your content. Are you sending it directly to them, or are you planning to post it online?

Let's break down the two main paths you can take.
Option 1: Save as a PowerPoint Show
If you're sharing your presentation directly—say, emailing it to a colleague or a client—saving it as a PowerPoint Show (.ppsx) is a brilliant move.
What’s so great about a .ppsx file? Instead of opening up in PowerPoint's editing mode, it launches straight into presentation view. It’s a slick way to ensure your audience sees the presentation exactly as you designed it, with all your carefully timed narrations playing automatically.
Just head to File > Save As, and from the format dropdown menu, pick PowerPoint Show (*.ppsx). Simple, effective, and professional.
Option 2: Export as an MP4 Video
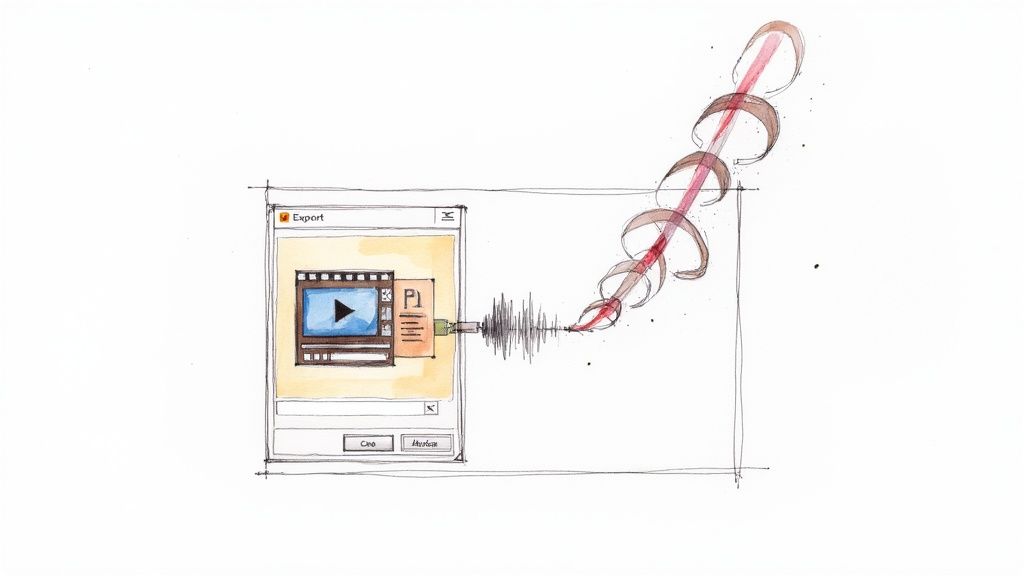
Need more flexibility? Exporting your presentation as an MP4 video is your best bet. This converts your entire slide deck into a standard video file that you can upload just about anywhere—YouTube, LinkedIn, your company's website, you name it.
An MP4 file guarantees that everyone has the same viewing experience, whether they're watching on a laptop or their phone. No PowerPoint software required.
To do this, go to File > Export > Create a Video. You’ll see a few options. I usually recommend Full HD (1080p) as it’s the perfect sweet spot between high quality and manageable file size. Most importantly, make sure the "Use Recorded Timings and Narrations" option is selected. Then, just hit "Create Video" and let PowerPoint work its magic.
So, which one should you choose? Think about your end goal. The .ppsx file is ideal for controlled, direct sharing where you want to maintain the "presentation" feel. The MP4 offers maximum reach and compatibility, turning your slides into a video anyone can watch, anywhere.
As you start to wrap things up, a few questions almost always seem to surface. Getting these sorted out is the final step to polishing your presentation and getting it out the door.
Let's walk through some of the most common things people ask when recording audio for a PowerPoint.
Can I Edit My Audio Inside PowerPoint?
This is a big one. The short answer is: sort of. PowerPoint's built-in audio tools are pretty basic. You can easily trim the beginning or end of a clip, which is great for cleaning up a little silence before you started speaking. But if you're trying to snip out a cough or a mistake right in the middle of your recording, you're out of luck.
Honestly, the best way to handle a mistake on a single slide is to just re-do it. Head to the Record tab, use the "Clear Narration on Current Slide" option, and give it another go. It's a quick, clean fix.
How Do I Add Background Music to My Narration?
A little background music can really make a presentation feel more polished and professional. It’s pretty straightforward to add.
Just go to Insert > Audio > Audio on My PC and pick your music file. Once it’s on the slide, click the little speaker icon and look for the Playback tab. In there, you'll see an option to "Play in Background." Clicking this tells PowerPoint to play the track continuously across all your slides. The key is to get the volume right—you want it to support your voice-over, not compete with it.
A subtle music track can make a huge difference in the viewing experience. Just be sure to test the final mix so your voice is still front and center. Clarity is everything.
Which Format Is Best for Sharing My Presentation?
The best format really boils down to who you're sending it to and how they'll be watching it.
- MP4 Video: This is your all-rounder. Exporting your slideshow as an MP4 turns it into a standard video file you can upload anywhere—YouTube, your company's intranet, LinkedIn, you name it. It's the safest bet for ensuring everyone has the exact same viewing experience, no matter what device they're using.
- PowerPoint Show (.ppsx): If you're emailing the file directly to a colleague or client, this format is fantastic. A .ppsx file jumps right into slideshow mode the moment they open it. They don't have to fiddle with the PowerPoint interface; they just get an immediate, polished presentation.
Why Use an AI Voice from Lazybird Instead of My Own?
Recording your own voice is great for that personal touch, but sometimes an AI voice generator like Lazybird just makes more sense. For one, you get perfectly clear, consistent, and professional-sounding audio every single time. No background noise, no "ums" or "ahs," just clean audio.
It’s also a massive time-saver. Think about it: if you need to update a statistic or change a sentence in your script, you don't have to find a quiet space and re-record everything. You just tweak the text, regenerate the audio in a few seconds, and you’re done. It takes the hassle out of a process that can be surprisingly tedious.
Ready to create flawless, professional-sounding voice-overs for your presentations in minutes? Lazybird makes it incredibly simple. Just paste your script, choose the perfect AI voice, and generate studio-quality audio without the stress of recording.