How to Voice Over a PowerPoint The Professional Way
Most advice on how to voice over a PowerPoint starts in the wrong place. It tells you to open PowerPoint, click Record, and start talking.
That’s exactly why so many narrated decks sound rough.
If your slides have echo, room noise, awkward pacing, or that flat “reading into a laptop mic” tone, the problem usually isn’t effort. It’s the workflow. PowerPoint can record narration, but that doesn’t mean it’s the best place to create it. The professional approach is simpler: build clean audio first, then add it to the slides.
Why Your PowerPoint Voice Overs Sound Amateur
The default method sounds convenient. Open the slideshow, hit record, narrate slide by slide, export, done.
In practice, that workflow breaks down fast. A Voices.com article on PowerPoint voice over workflow notes that 70% of user-generated narrations suffer from quality issues, and 62% reported dissatisfaction with echo, background noise, and unnatural pacing in built-in recordings. That lines up with what most creators run into after their first serious attempt.

The real problem isn't your voice
People often assume they “aren’t good at narration.” Usually that’s not true. They’re recording in a room that isn’t controlled, with a mic that isn’t positioned well, while trying to advance slides, think ahead, and sound natural at the same time.
That creates a predictable list of problems:
- Pacing falls apart: You rush one slide and drag the next.
- Noise sneaks in: Fans, keyboard taps, HVAC hum, and room reflections become part of the recording.
- Retakes get messy: One mistake forces you to redo more than you wanted.
- Delivery stiffens up: Talking while operating the deck makes narration sound read, not spoken.
Practical rule: If recording feels stressful, the audience will usually hear that stress in the audio.
Why polished slides still feel unprofessional
A sharp slide design can’t rescue weak narration. Audio is the part people forgive least. Viewers will tolerate simple visuals. They won’t tolerate distracting sound for long.
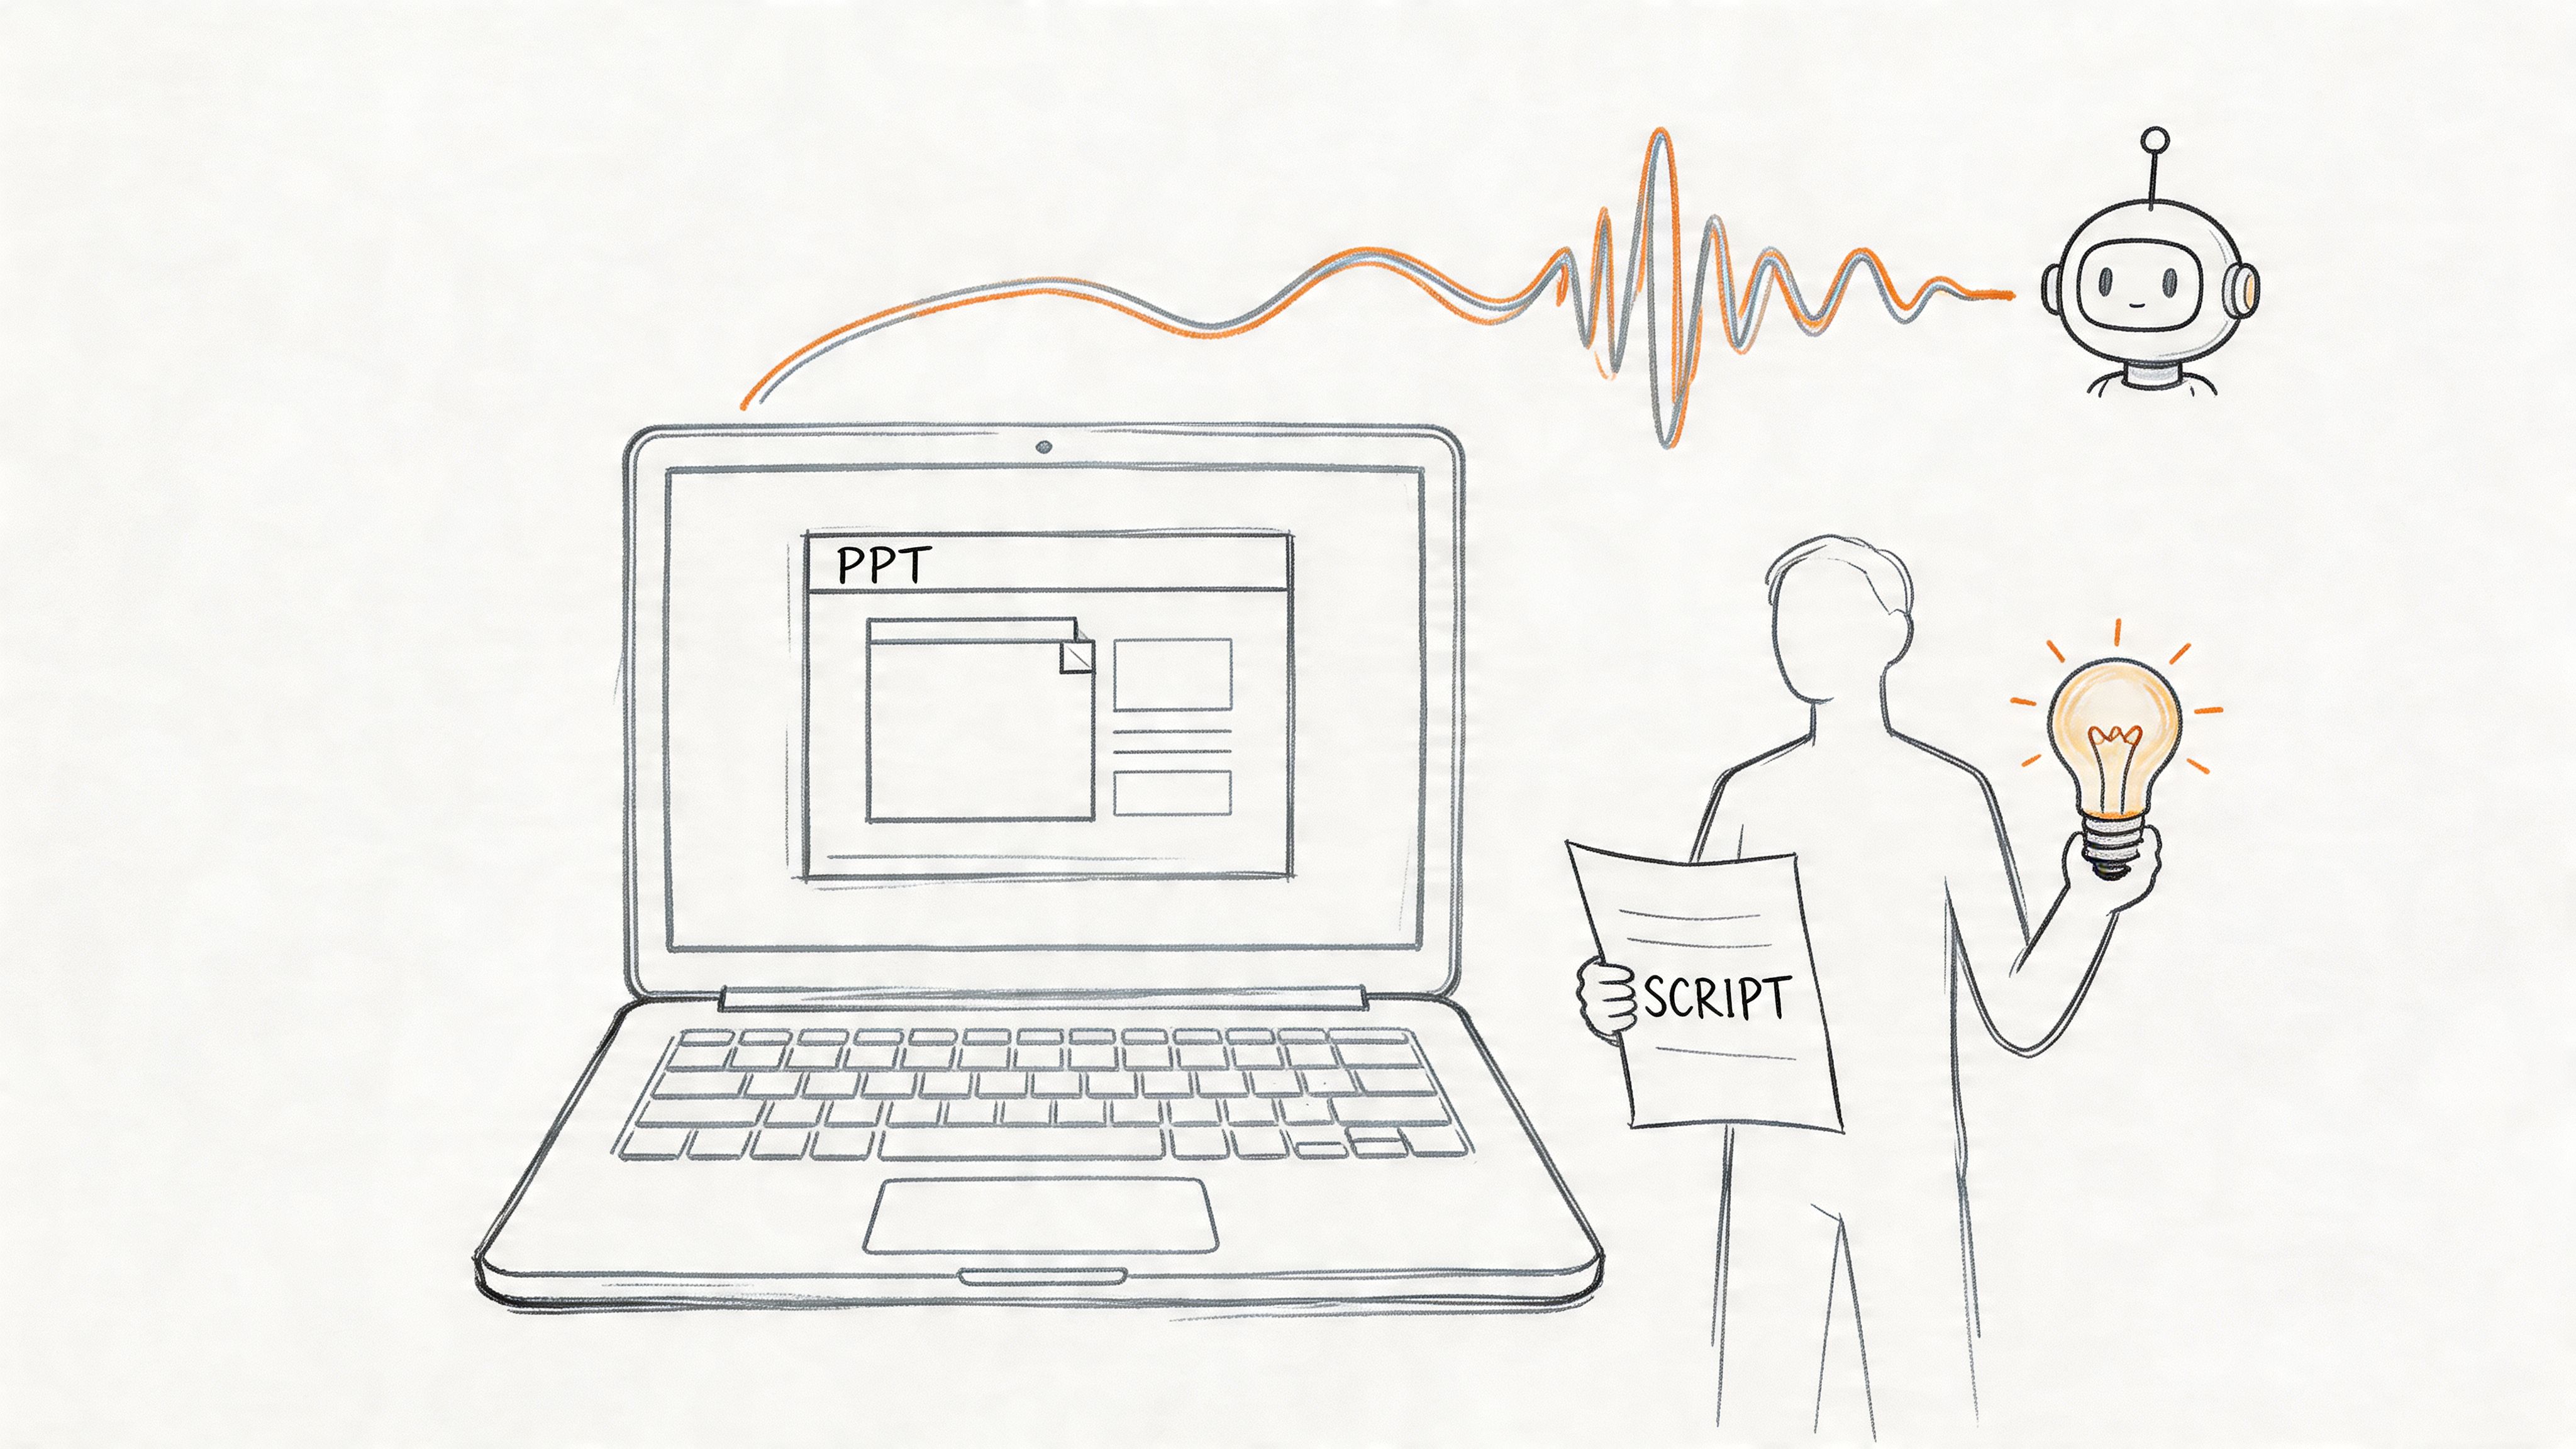
That’s why the smartest fix is to stop treating narration as an afterthought inside PowerPoint. Build the voice over separately, where you can control the script, tone, and timing, then import finished audio that already sounds right.
The Two Paths to PowerPoint Narration
There are really only two ways to do this.
You can record directly inside PowerPoint, or you can create the narration outside PowerPoint and bring it in afterward. Both work. Only one gives you consistent quality without a lot of friction.

Path one, record inside PowerPoint
PowerPoint’s native recorder captures several things at once. Microsoft documents that it can capture voice narration, slide timings, ink annotations, and laser pointer movements in the same workflow through PowerPoint slide show recording. That’s useful if you need everything tied tightly to the presentation itself.
But there’s a trade-off. That same workflow can introduce latency issues and compression artifacts if your system doesn’t have enough processing power, which means your narration can lose clarity while you record.
Here’s where the built-in route works and where it doesn’t:
| Method | What it does well | Where it struggles |
|---|---|---|
| Record in PowerPoint | Easy to start, captures slide actions and timings together | Harder to control audio quality, less flexible for edits |
| Create audio first | Better consistency, easier script changes, cleaner retakes | Requires one extra import step |
Path two, create narration first
This is the workflow I recommend for anyone who wants a presentation to sound deliberate instead of improvised.
Write the script outside the deck. Generate or record the narration as separate audio files. Clean up timing before it ever touches the slides. Then insert each finished file into the relevant slide.
The best PowerPoint narration usually isn't recorded in PowerPoint. It's prepared before PowerPoint ever opens.
That approach gives you three advantages:
- Cleaner quality control because audio is the priority, not a side task.
- Faster revisions because you can replace one segment without touching the rest.
- More natural delivery because you’re focused on voice performance, not slideshow mechanics.
If you’ve been searching how to voice over a PowerPoint and wondering why the common method keeps disappointing you, this is the fork in the road that matters.
Generating Your Professional Voice Over in Minutes
The fastest way to improve a PowerPoint narration is to stop thinking in slides first and start thinking in script blocks.
A strong voice over begins as short, manageable chunks. That matters because Voquent’s guide to PowerPoint voice over production emphasizes that pre-recording audio quality optimization is the critical success factor, and that structuring narration across multiple slides improves retention and makes corrections easier.

Write for slides, not for paragraphs
Don’t draft one giant script and hope it fits. Write one section per slide, or split dense slides into multiple narration beats.
That does two things. It keeps each audio file easier to manage, and it stops a single rewrite from wrecking the whole deck.
A practical script format looks like this:
- Slide title first: Label every script block with the exact slide name or number.
- Short spoken sentences: Write how people talk, not how reports read.
- Pause cues in brackets: Mark spots where you want space before a visual reveal.
- One idea per block: If a slide explains too much, split the message.
If you still plan to use a live mic for some projects, understanding dynamic and condenser microphones helps you choose the right recording setup. But for many creators, AI narration is now the cleaner option because it removes room noise, mic technique mistakes, and performance inconsistency from the process.
Direct the performance instead of accepting the first take
AI voice generation changes the game. Instead of rerecording the same sentence because one word sounded off, you edit the text or adjust the performance settings.
With a tool built for scripted narration, the process is straightforward:
- Paste your script slide by slide. Keep each block separate.
- Choose a voice that fits the content. Training material, sales decks, explainers, and social clips all need different energy.
- Tune the delivery. Adjust speed, pitch, pauses, pronunciation, and tone until the read sounds intentional.
- Export each narration file. Name files clearly so they map to slides without confusion.
For a broader look at this workflow, this guide to an AI voice generator online is worth reading if you want to compare script-first production with manual recording.
Here’s a quick walkthrough of the kind of editing that matters most:
Keep the voice slightly slower than you think you need. Slide narration that feels a touch deliberate in editing usually feels clear during playback.
A few minutes spent on pause placement can make a synthetic voice sound dramatically more natural. That’s especially true on title slides, data-heavy slides, and transition slides where breathing room helps comprehension.
If you want to see the workflow in action, this demo is useful:
Export clean, organized files
Before leaving the audio tool, get organized. Export files with names that match your slide order, such as 01-intro.mp3, 02-problem.mp3, and 03-solution.mp3.
That small step prevents the most annoying part of voice over production, which is trying to remember which audio file belongs to which slide after the fact.
Embedding Your Narration into PowerPoint Slides
Once your audio is finished, PowerPoint becomes useful again. Not as the recording studio, but as the container.
PowerPoint lets you import pre-recorded narration through Insert > Audio > Audio on My PC, which places a speaker icon on the slide and gives you built-in playback controls. That’s the part many tutorials skip over too quickly. The insertion is easy. The settings are what make it feel professional.

The clean import workflow
Use this order and you’ll avoid most confusion:
- Open the target slide.
- Insert the matching audio file.
- Click the audio icon and open Playback options.
- Set the file to start automatically if the narration should begin when the slide appears.
- Move the icon off the visible content area if you don’t want it distracting from the slide design.
If you build in multiple platforms, this tutorial on how to add voiceover to Google Slides is a useful comparison point because the logic is similar even though the interface differs.
Which playback settings actually work
PowerPoint gives you a few choices, and not all of them are ideal for narrated decks.
- Start Automatically: Best for self-running presentations or asynchronous training.
- Play in Background: Useful when a file needs to continue without manual clicks, though it can be too broad for tightly segmented slide narration.
- Hide During Show: Good if you want the audio icon invisible during playback.
- Loop Until Stopped: Usually wrong for narration. Save it for ambient music, not voice over.
Use one narration file per slide unless there’s a clear reason not to. It keeps troubleshooting simple and makes updates far less painful.
If you want a more traditional tutorial on the native recording route before comparing workflows, this guide on how to record a PowerPoint presentation with audio gives the PowerPoint-side steps clearly.
One small habit that saves hours
After inserting each file, play the slide immediately. Don’t wait until the whole deck is done. You want to catch the obvious problems early: wrong file, abrupt start, clipped ending, or a narration file that belongs to another slide.
That quick check is boring, but it’s the difference between a smooth final review and a frustrating repair session.
Pro Tips for a Polished Voice Over Presentation
Getting audio into the slides is only half the job. The polished version comes from timing, transitions, and export choices.
A lot of creators discover this only after uploading a deck to a course platform and hearing the narration drift out of sync. That problem is common enough that Champlain eLearning’s guidance on adding voiceovers to PowerPoint reports audio desyncs in 40% of LMS uploads and video conversions, and says it’s a pain point for 55% of online course creators. The same guidance recommends File > Export > Create Video as the most reliable way to preserve synchronization across platforms and devices.
Sync narration to animations, not just slides
If a slide reveals bullets or diagrams step by step, treat the narration as part of the animation sequence. Open the Animation Pane and preview when each element appears relative to the spoken line.
Use this approach:
- Narrate to reveals: Add short pauses before each animated item appears.
- Avoid crowded timing: If too many objects animate during one sentence, split the slide.
- Check transitions manually: A transition that feels smooth visually can still cut off the end of a spoken phrase.
Export as video when reliability matters
If the presentation will live outside your machine, export a video version. That’s the safest delivery format for courses, client handoffs, and public uploads.
The workflow is simple:
- Finish the deck and confirm slide timings.
- Go to File > Export > Create Video.
- Review the exported file before uploading anywhere.
- Keep the original PowerPoint as your editable master.
For creators refining their broader setup, this article on voice over recording is helpful because the same rules apply whether the final destination is PowerPoint, YouTube, or a course platform.
A narrated PowerPoint is not finished when the slides look right. It's finished when the exported playback behaves correctly on another device.
Polish details people notice immediately
A few finishing choices carry a lot of weight:
| Detail | Better choice |
|---|---|
| Slide length | Give each slide enough silent space before advancing |
| Transitions | Keep them simple so narration stays the focus |
| Volume consistency | Match perceived loudness across all files |
| Ending cadence | Leave a short tail before the next slide starts |
When people say a narrated presentation feels “smooth,” they usually mean these details were handled well.
Your New Workflow for Perfect PowerPoint Narration
The old advice says to narrate inside PowerPoint and hope your setup behaves. That’s convenient, but it puts the hardest part of the process in the least forgiving place.
The professional method is cleaner. Write the script in sections. Generate or record polished audio outside the deck. Fine-tune pacing before import. Add each file to its slide. Then export the finished presentation as video when you need dependable playback.
That workflow solves the problems people blame on their voice, their microphone, or their editing skills. In most cases, the effective fix is better sequencing. Audio first. Slides second. Distribution last.
If you’ve been trying to figure out how to voice over a PowerPoint without ending up with robotic delivery, noisy recordings, or broken sync, this is the method worth keeping.
If you want to skip the messy recording setup and create polished narration fast, try Lazybird. It gives you over 200 lifelike AI voices in 100+ languages and accents, plus control over pitch, speed, pauses, pronunciation, and tone. You can turn a slide-by-slide script into natural-sounding audio in seconds, export clean files, and drop them straight into PowerPoint. For creators building courses, YouTube videos, training decks, audiobooks, or social content, it’s one of the easiest ways to get studio-quality voiceovers without hiring talent or fighting with microphone setup.